Wednesday, September 14, 2011

Drugstore Haul

Picked up a  few things from Walgreens, CVS, Walmart, Family Dollar and Target.  I realized shortly after that the majority of the products are Maybelline. Walgreens had a great sale on all Maybelline products last weekend. 40% off plus buy one get one 50% off...in addition they had manufacture coupons on their displays for $2.00 off. Not bad right?  So her is what I purchased...

Trip# 1
  • Wet n' Wild - # 249 Vanity
  • Maybelline - Fit Me #210
  • Maybelline - Dream Matte Powder / Medium
  • Maybelline - Mater Drama by Eyestudio / Vibrant Violet
  • Maybelline - Mater Drama by Eyestudio / Sapphire Strength
  • Biore - Deep cleansing pore strips
  • Loreal - Voluminous Carbon Black

Trip# 2
  • Maybelline - Great Lash / Clear
  • Maybelline - Define-A-Brow / Dark Brown
  • Maybelline - Eyestudio / Bronze Blowout
  • Maybelline - Modern Metallics / Sunkissed Olive
  • Revlon - Blackhead remover
  • Sinful - Nail Art / Bad Chick (white)
  • Sinful - Nail Art / Time Off (black)

Trip# 3
  • John Freida - Sheer Blonde / Color Renew Shampoo - Tone Correcting
  • John Freida - Sheer Blonde / Color Renew Conditioner - Tone Correcting
  • Clean & Clear - Persa-gel 10
  • Loreal - Lineur Intense / Carbon Black
  • Essie - Case Study
  • Wet n' Wild - #381B Sweet as Candy
  • Wet n' Wild - # 380B Walking on Eggshells
  • E.L.F - Tinted Moisturizer / Nude
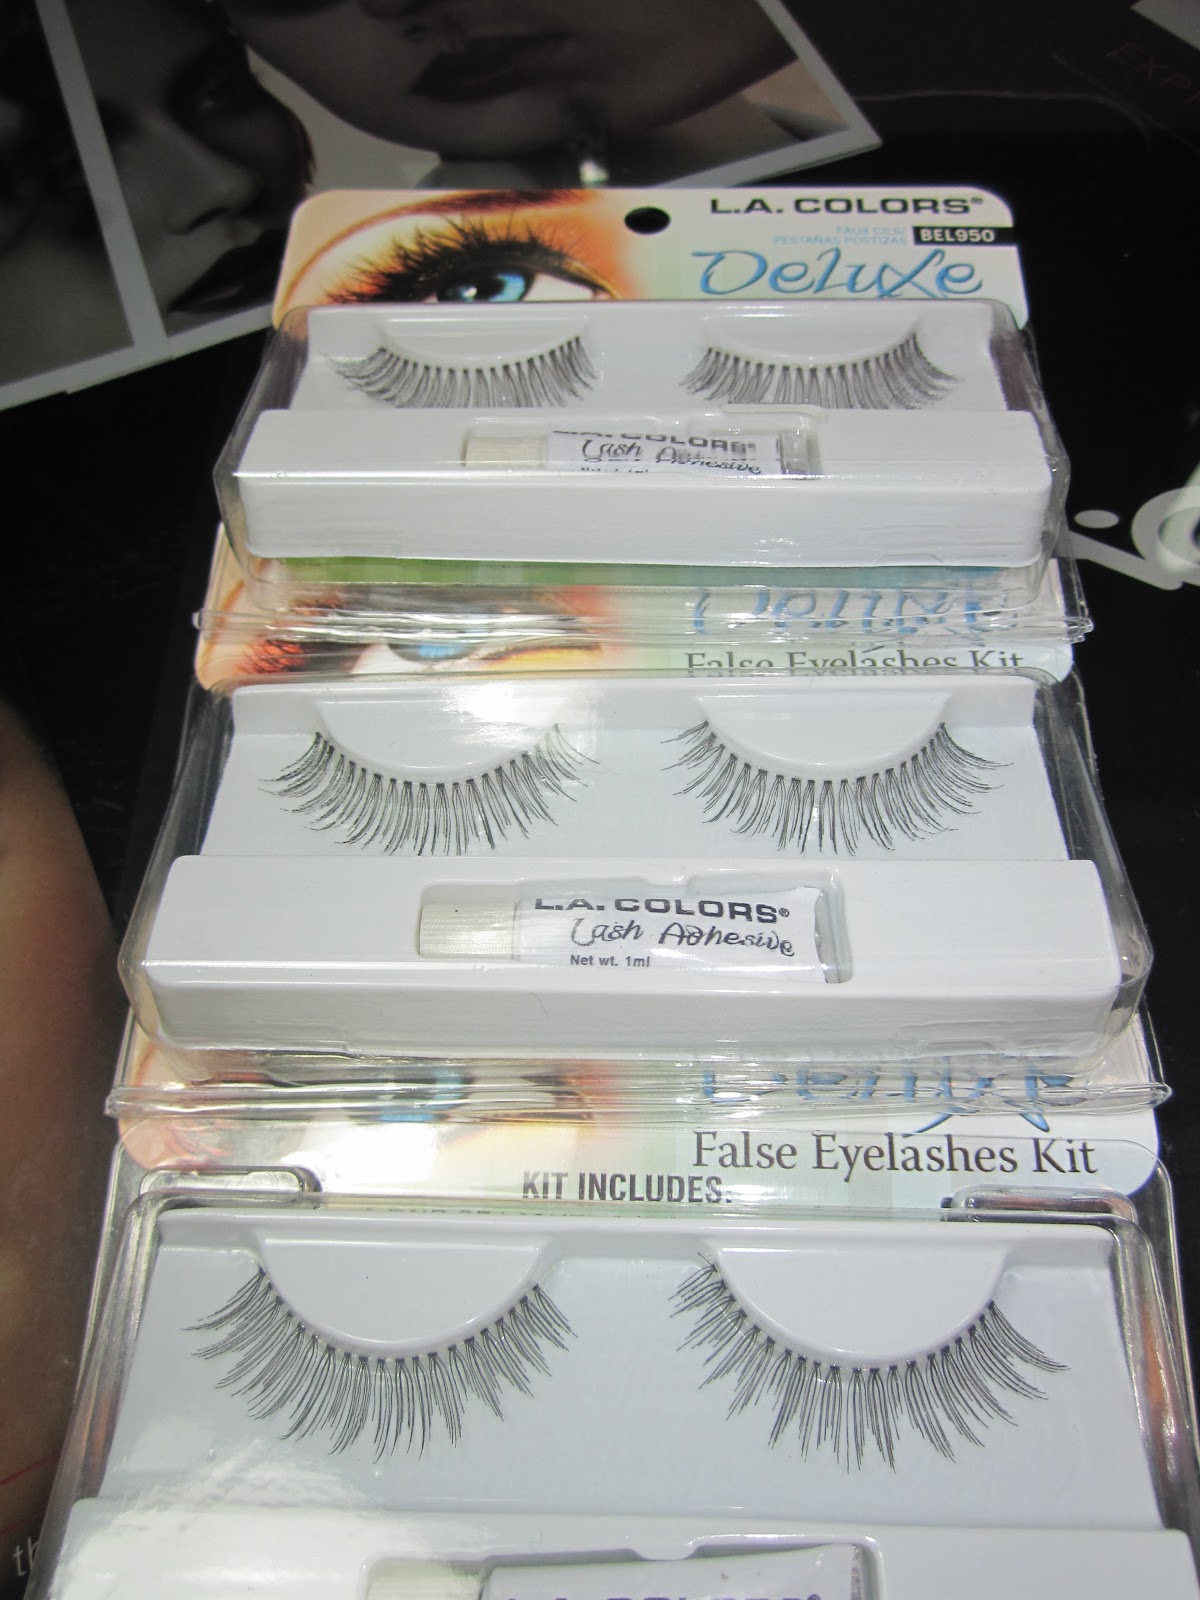
  •  
Trip# 4
  • L.A Colors False Eyelashes
  • Salon Perfect False Eyelashes

Cute Nail Design

Thought I would share a cute and simple nail design I created. It took a matter of 10 minutes and 6 items.

Items:
  1. Base Coat
  2. Nail Color (your choice)
  3. Orange wood stick cuticle pusher / Dotting tool
  4. Fimo nail art...(I chose butterflies)
  5. Nail art rhinestones...Multi colored
  6. Top Coat
Step 1
Apply base coat on clean nails.

Step 2
Apply the desired color to the tip of your nails. You can use scotch tape to guide you. This will give you a nice clean straight line. I usually do 2 coats. Let nails dry for about 5 to 10 minutes and move on to step 3.

Step 3
Place a few drops of clear base or top coat on a safe surface. This will be your adhesive for your nail art. With your orange stick or dotting tool dab a bit of your choice of adhesive to the tip and pick up your choice of Fimo nail design. With the design on the tip of your applicator dab it in some more adhesive and quickly apply it to your nail. Take your orange stick and gently press down on your nail art and adjust it so that it lay flat on your nail bed. Repeat this step on all or just desired nail(s).

Step 4
Using the same procedure in step 3 select your desired choice of rhinestone. I chose to apply it right above the butterfly. You can get more creative by adding more or mixing colors.

Step 5
Apply plenty of top coat to your nails especially around the areas where you have applied your nail art. This will secure it in place.

Step 6

Flaunt your cute nails!